AGL stands for auto-GL, a 3D graphics library written in C++. It is dedicated to creating 3D graphics with OpenGL while abstracting the complex parts.
Dependency
AGL depends on
- OpenGL version 3.0 or above (3.3 used as default)
- GLFW (needs installation)
- GLM (provided)
AGL intends to be a low requirements library. You'll only need to install GLFW to get it working.
Getting Started
Start by installing GLFW for your system. Clone or download and extract the repository. You'll find all the header and source codes in the AGL directory. The compiled library will be in build. Add them to your build system - you can either add the header files and the library for linking or just the headers and the source codes for recompilation.
First code
Several examples are available in the test folder. For this first code we'll create a new file inside this this folder. Start by creating a file first_cube.cpp, and add the following lines.
Once you've saved the file, open a terminal and navigate to this folder. Compile the file with (assuming you've GCC installed)
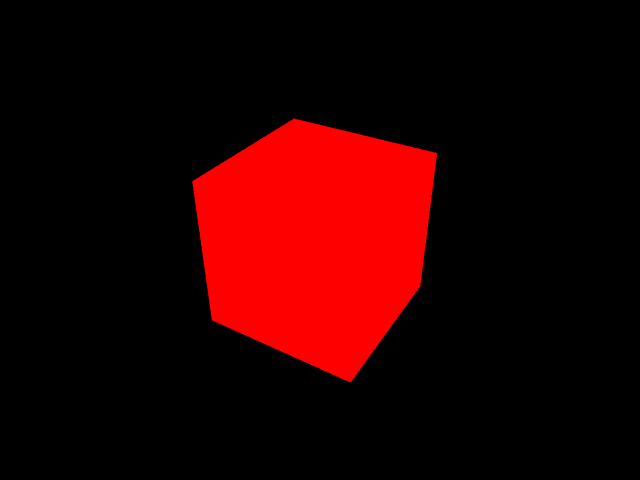
then run it with ./a.out. Once the code runs without any errors, you'll see a red colored cube on a black background on the screen, like the image below.
Second code
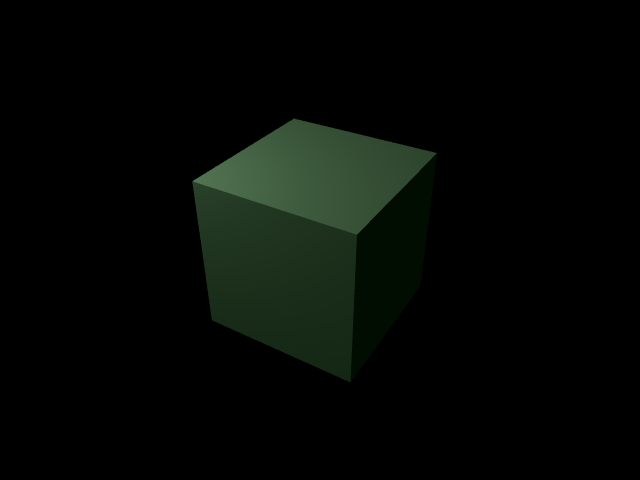
In our first code we created a simple cube. But it had no depth, just looked like an irregular hexagon. Next, we'll add some lights, hence some depths. Create another file lighted_cube.cpp and add the following codes.
Compile and run this code. You should see something like the image below.
What next?
Add the following line inside the while loop and create your first animation.
Then? Check the tutorials for more awesomeness.